
The Schedule section allows you to add, manage, and view Schedule items for Tour Dates. You can control who can see Schedule Items using Visibility. Travel items will also appear in the Schedule.
This article covers how to:
Understand Confirmed and Unconfirmed Schedule Items
View Travel Items in the Schedule
Remove All Schedule and/or Travel Items From a Tour Date
Locate the Schedule Section
There are a few ways you can get to the Schedule section in Master Tour:
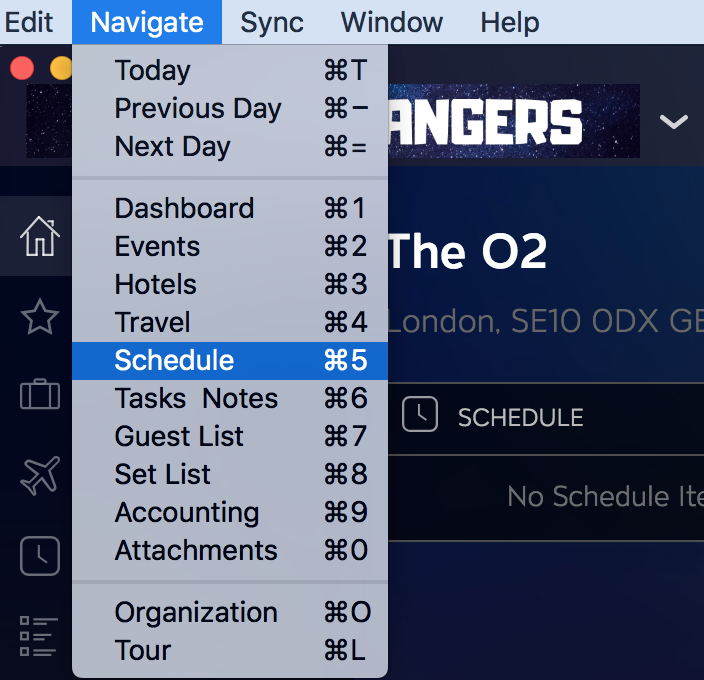
- By selecting Navigate>Schedule in the top menu bar:
- By using the keyboard shortcut of Cmd-5 (Ctrl-5 on Windows)
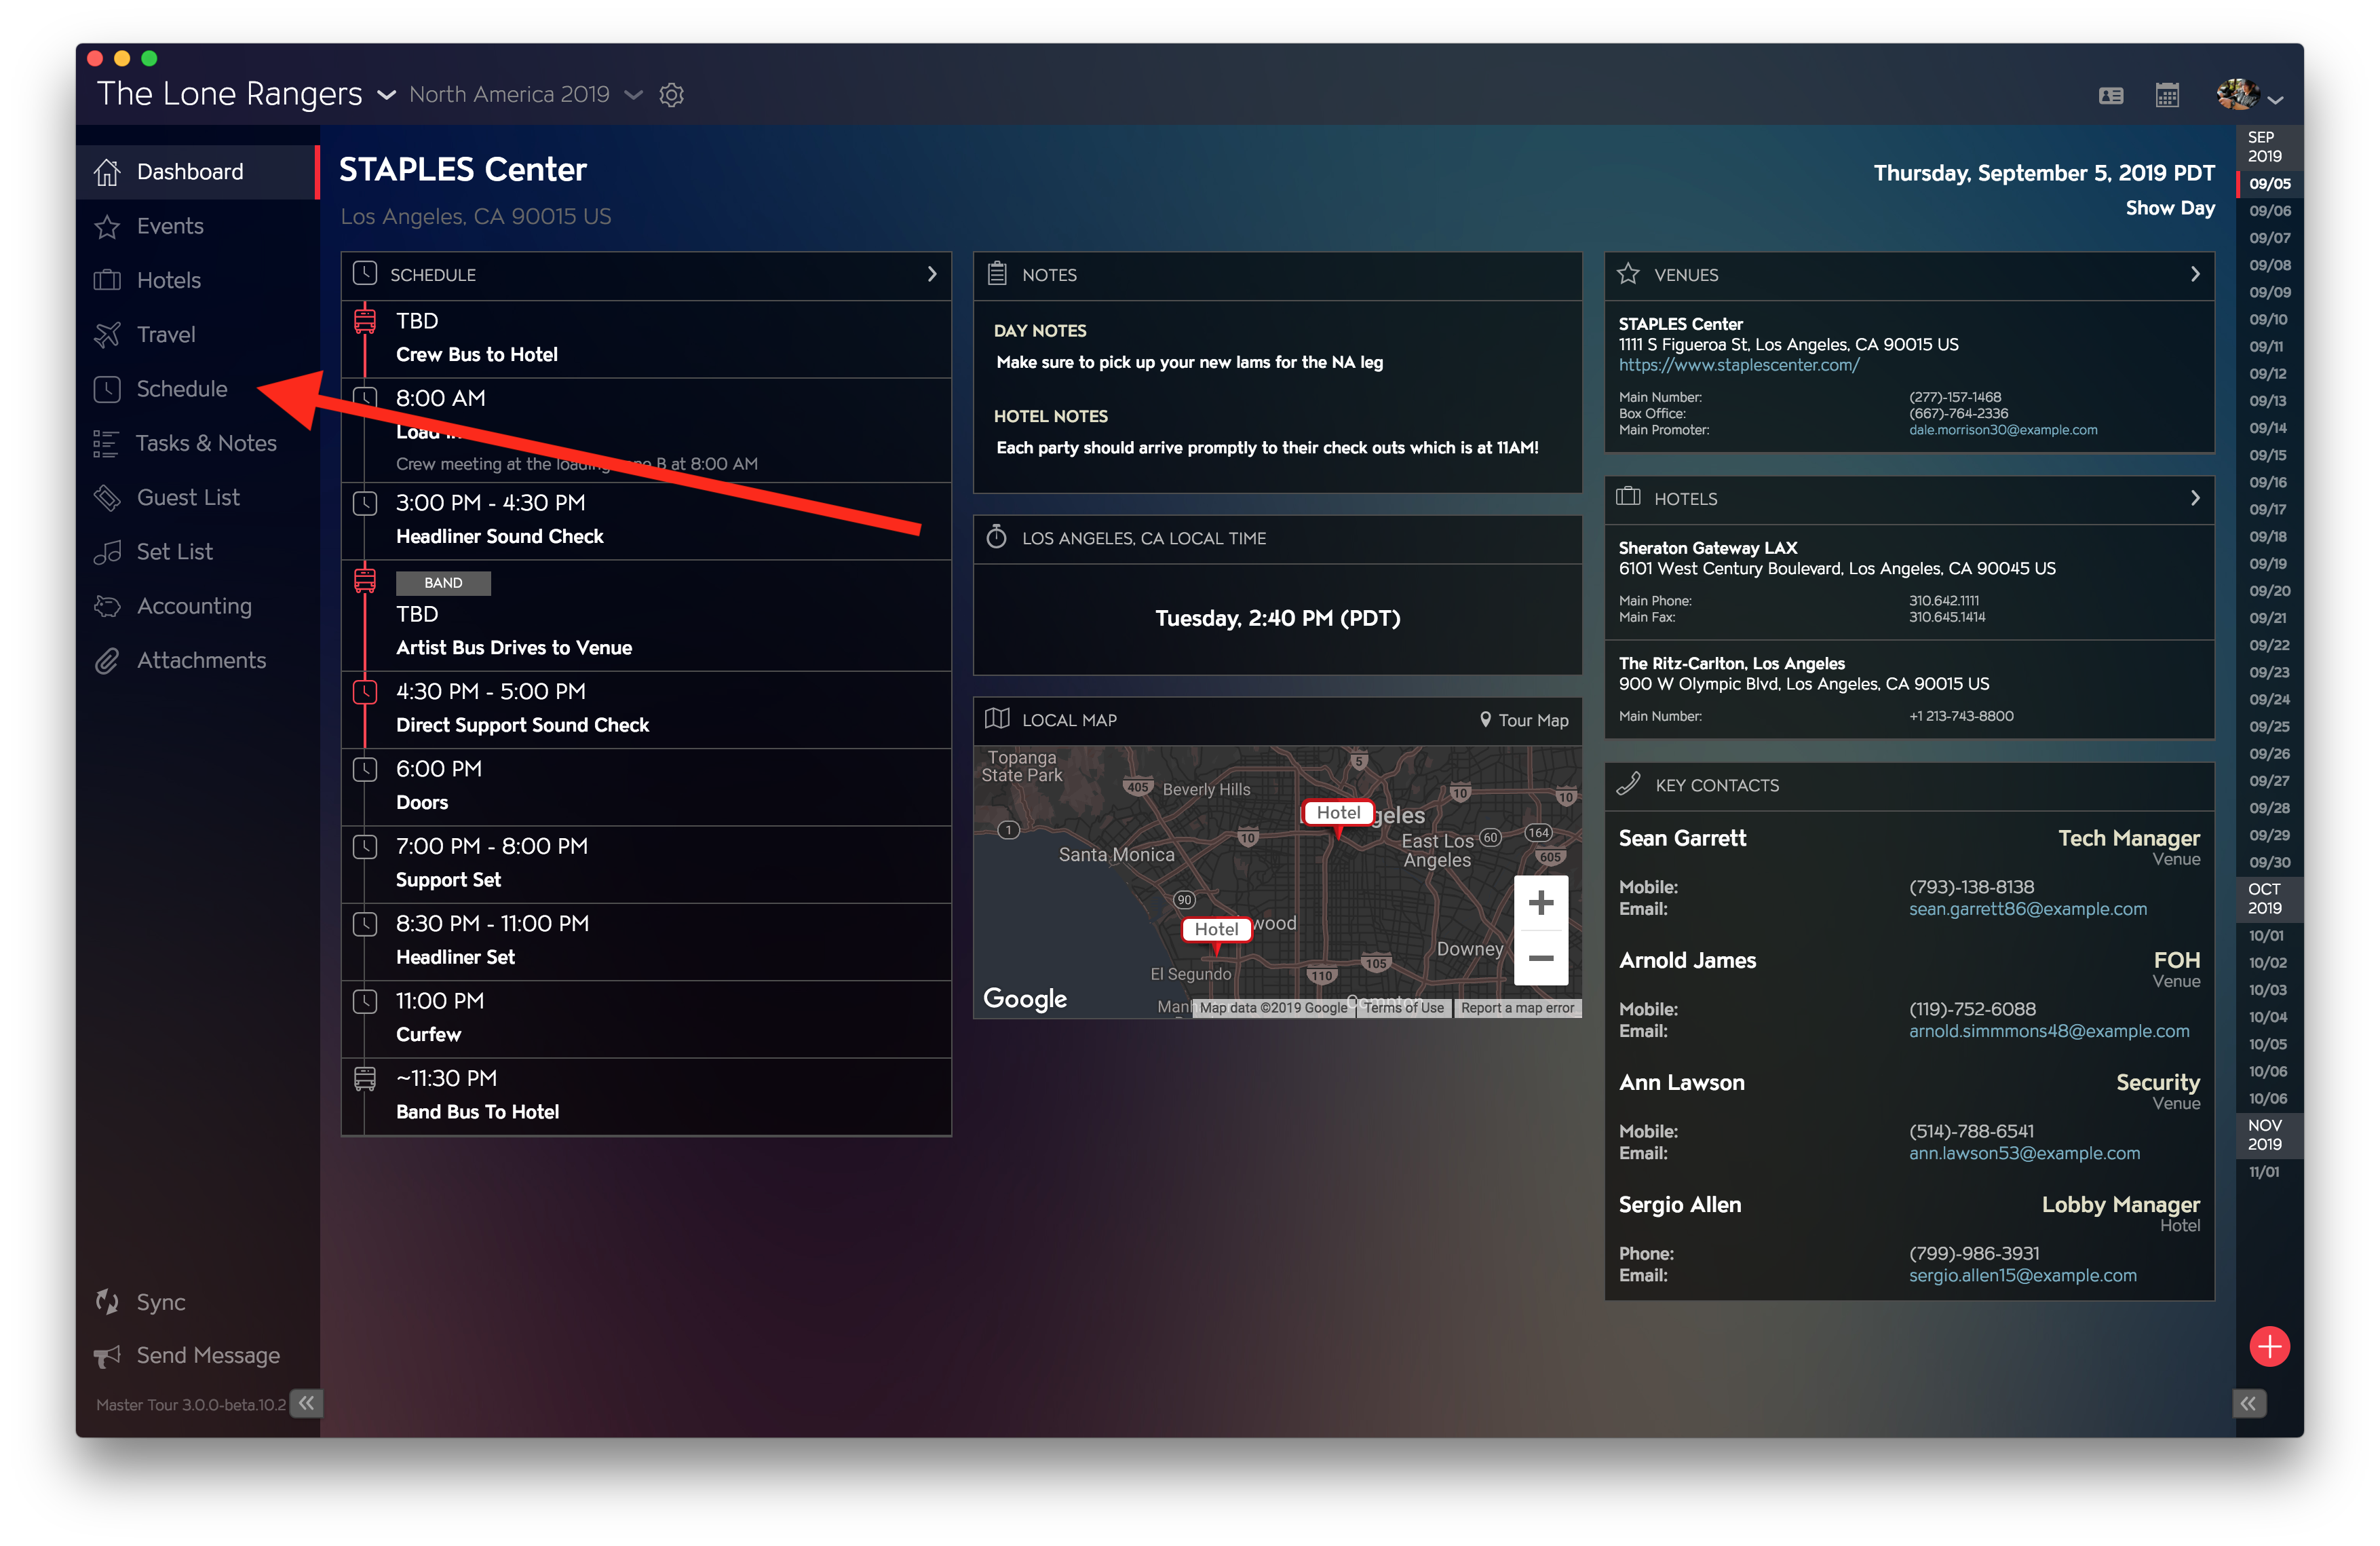
- By clicking the Schedule button on the left sidebar:
Use Schedule Views
By default, your Schedule section will display Schedule Items in Block View, as shown below - but you can change this view to List View by clicking on the toggle in the top left corner of your Schedule: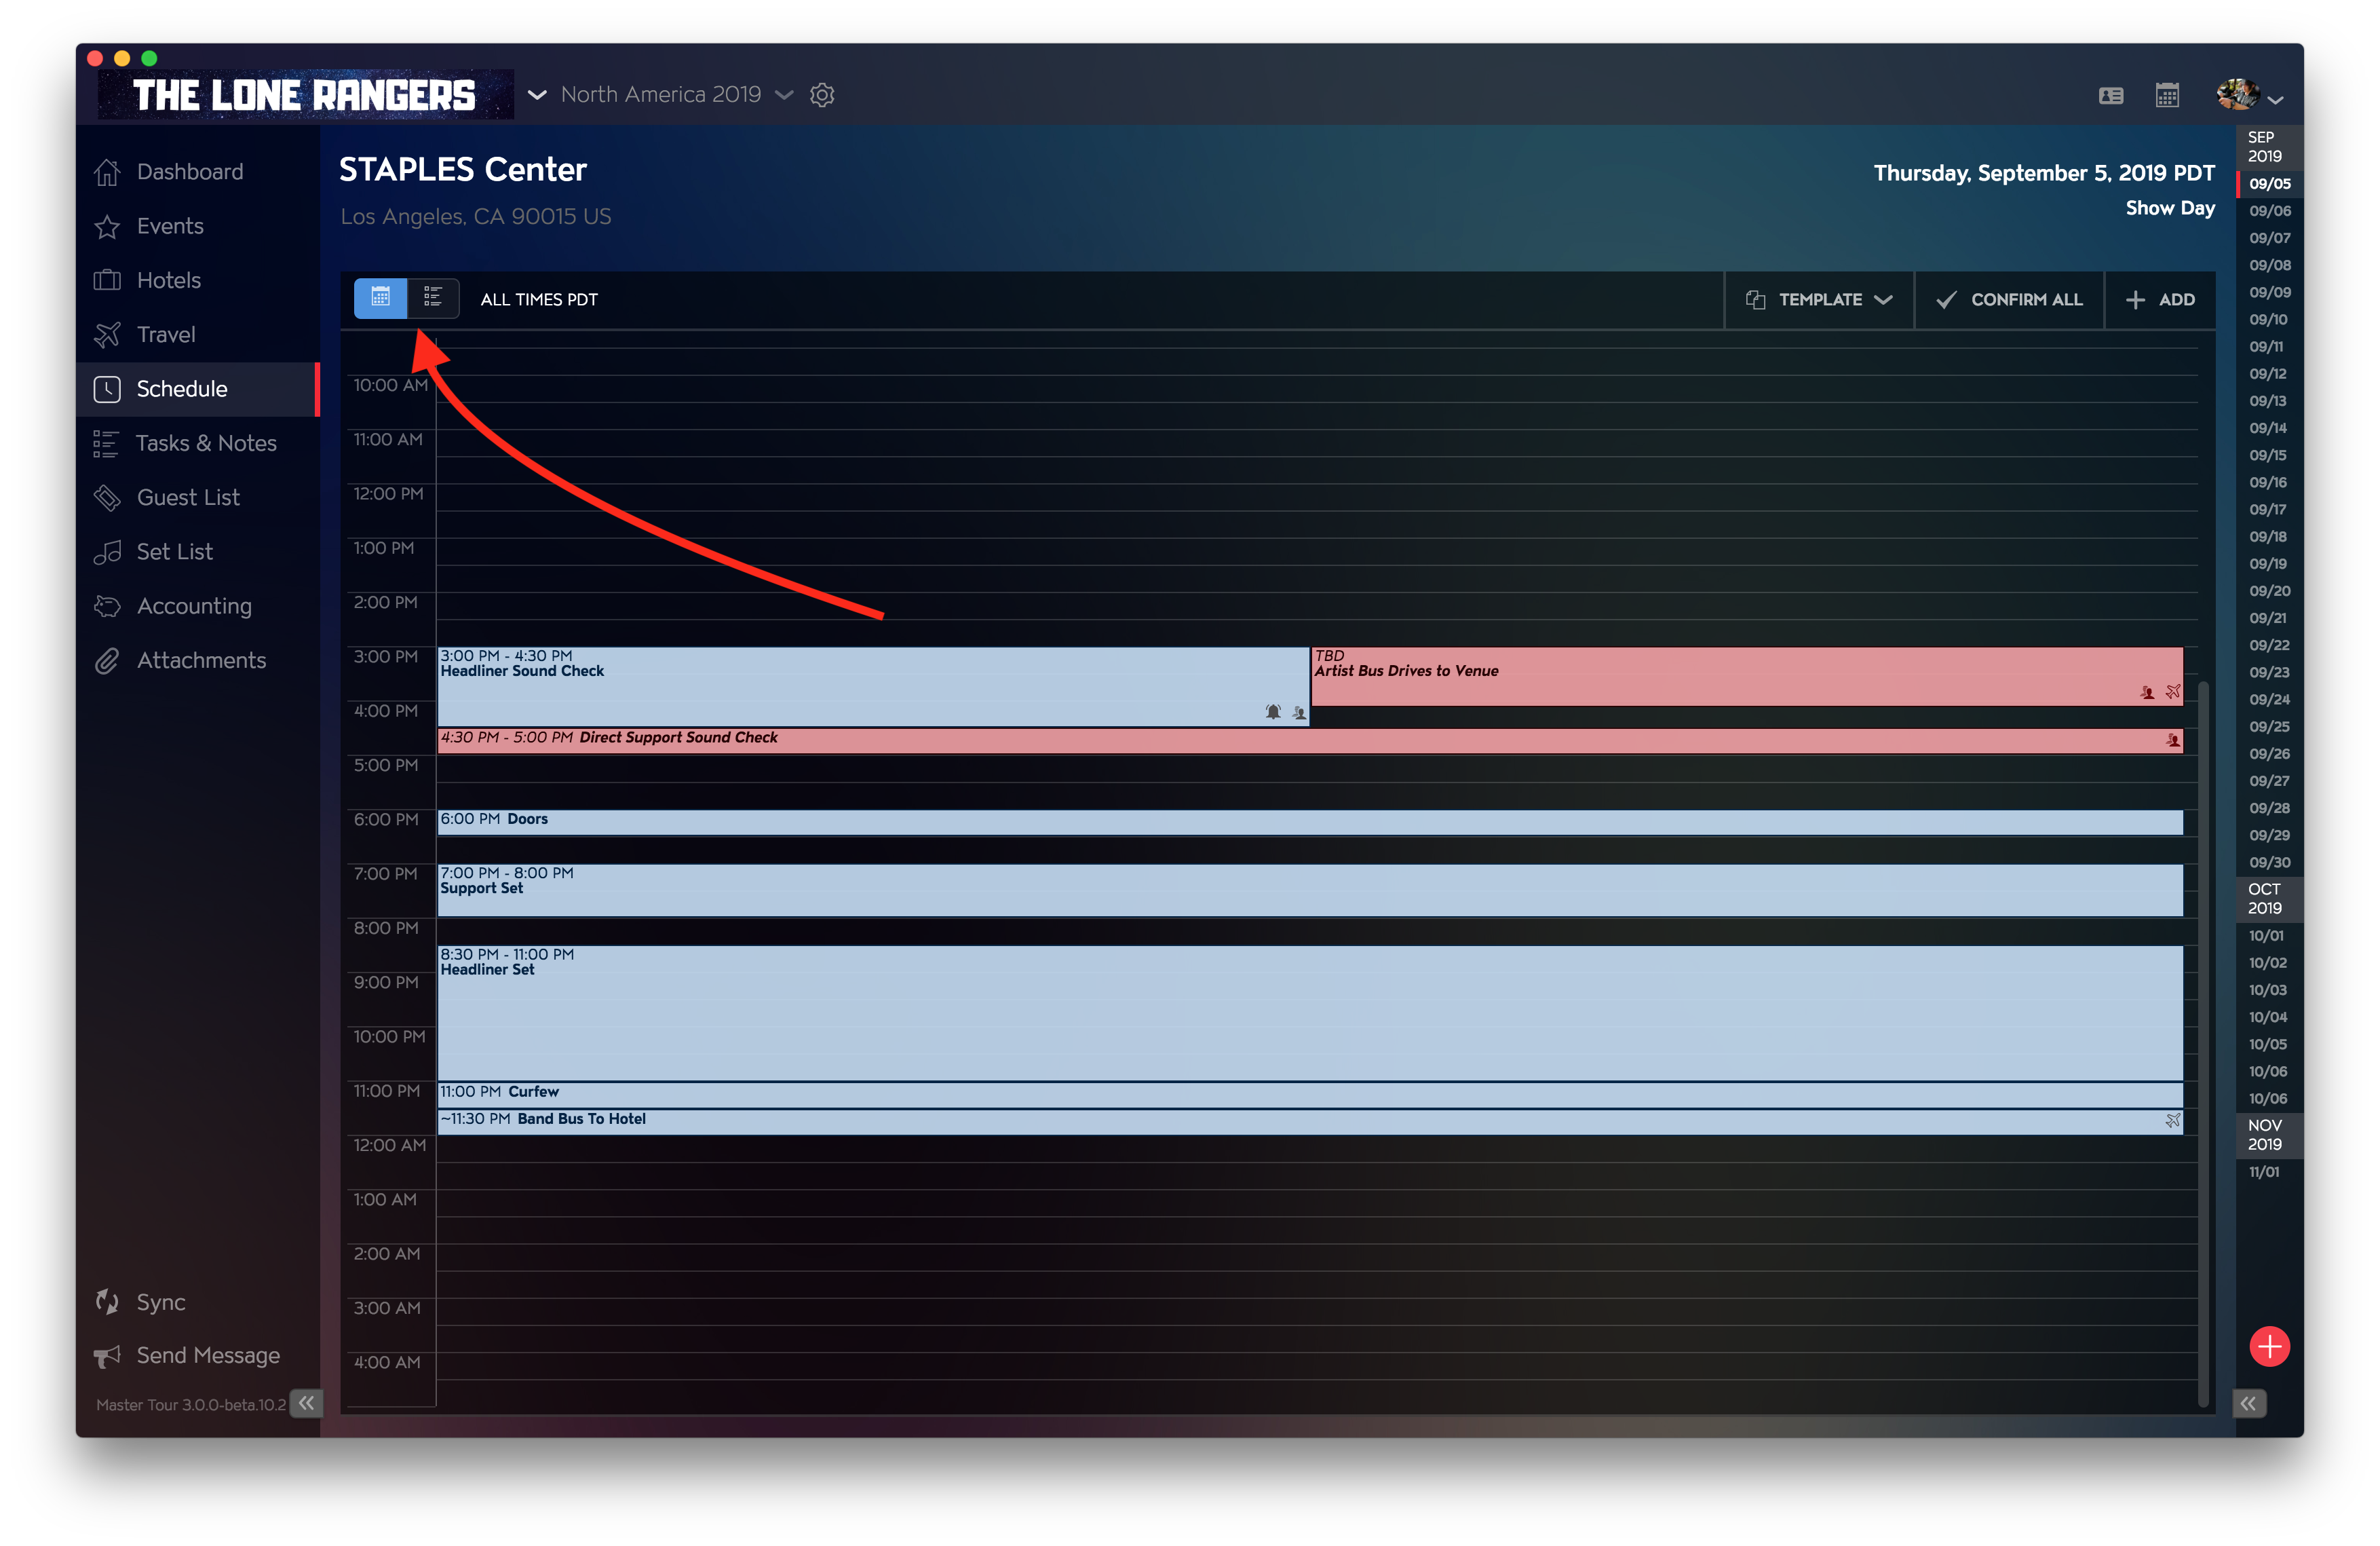
List View: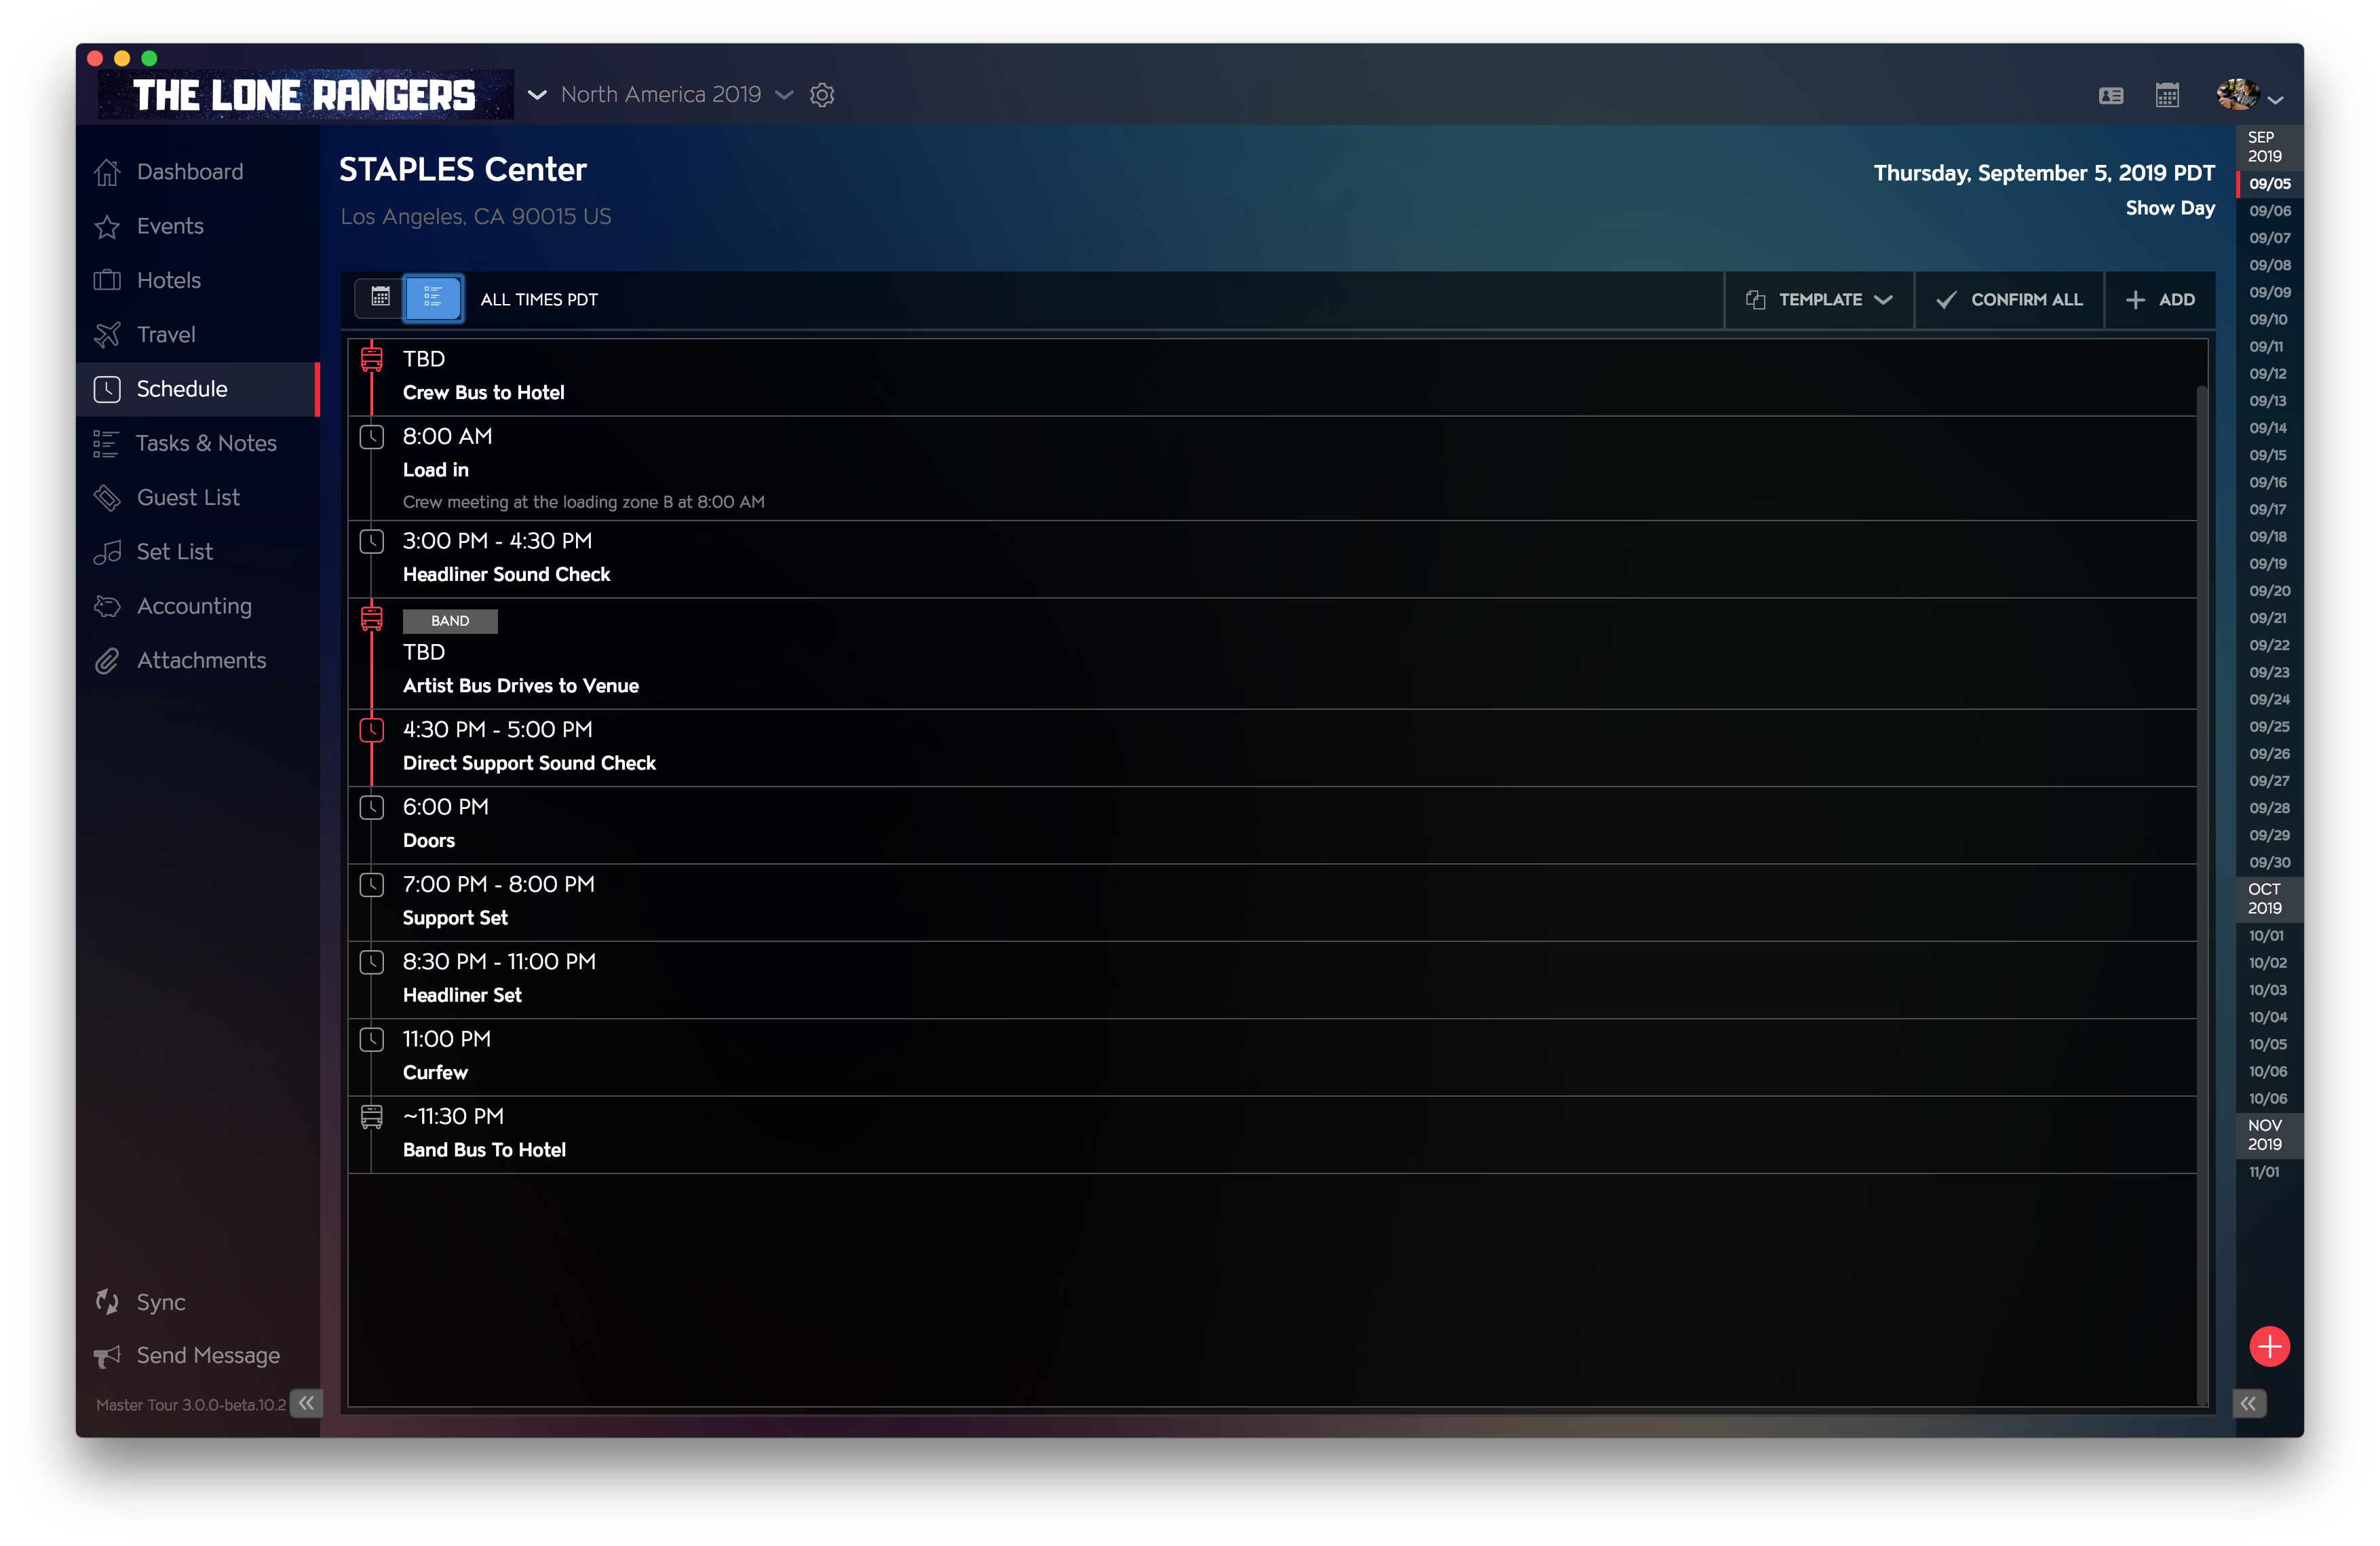
Add Schedule Items
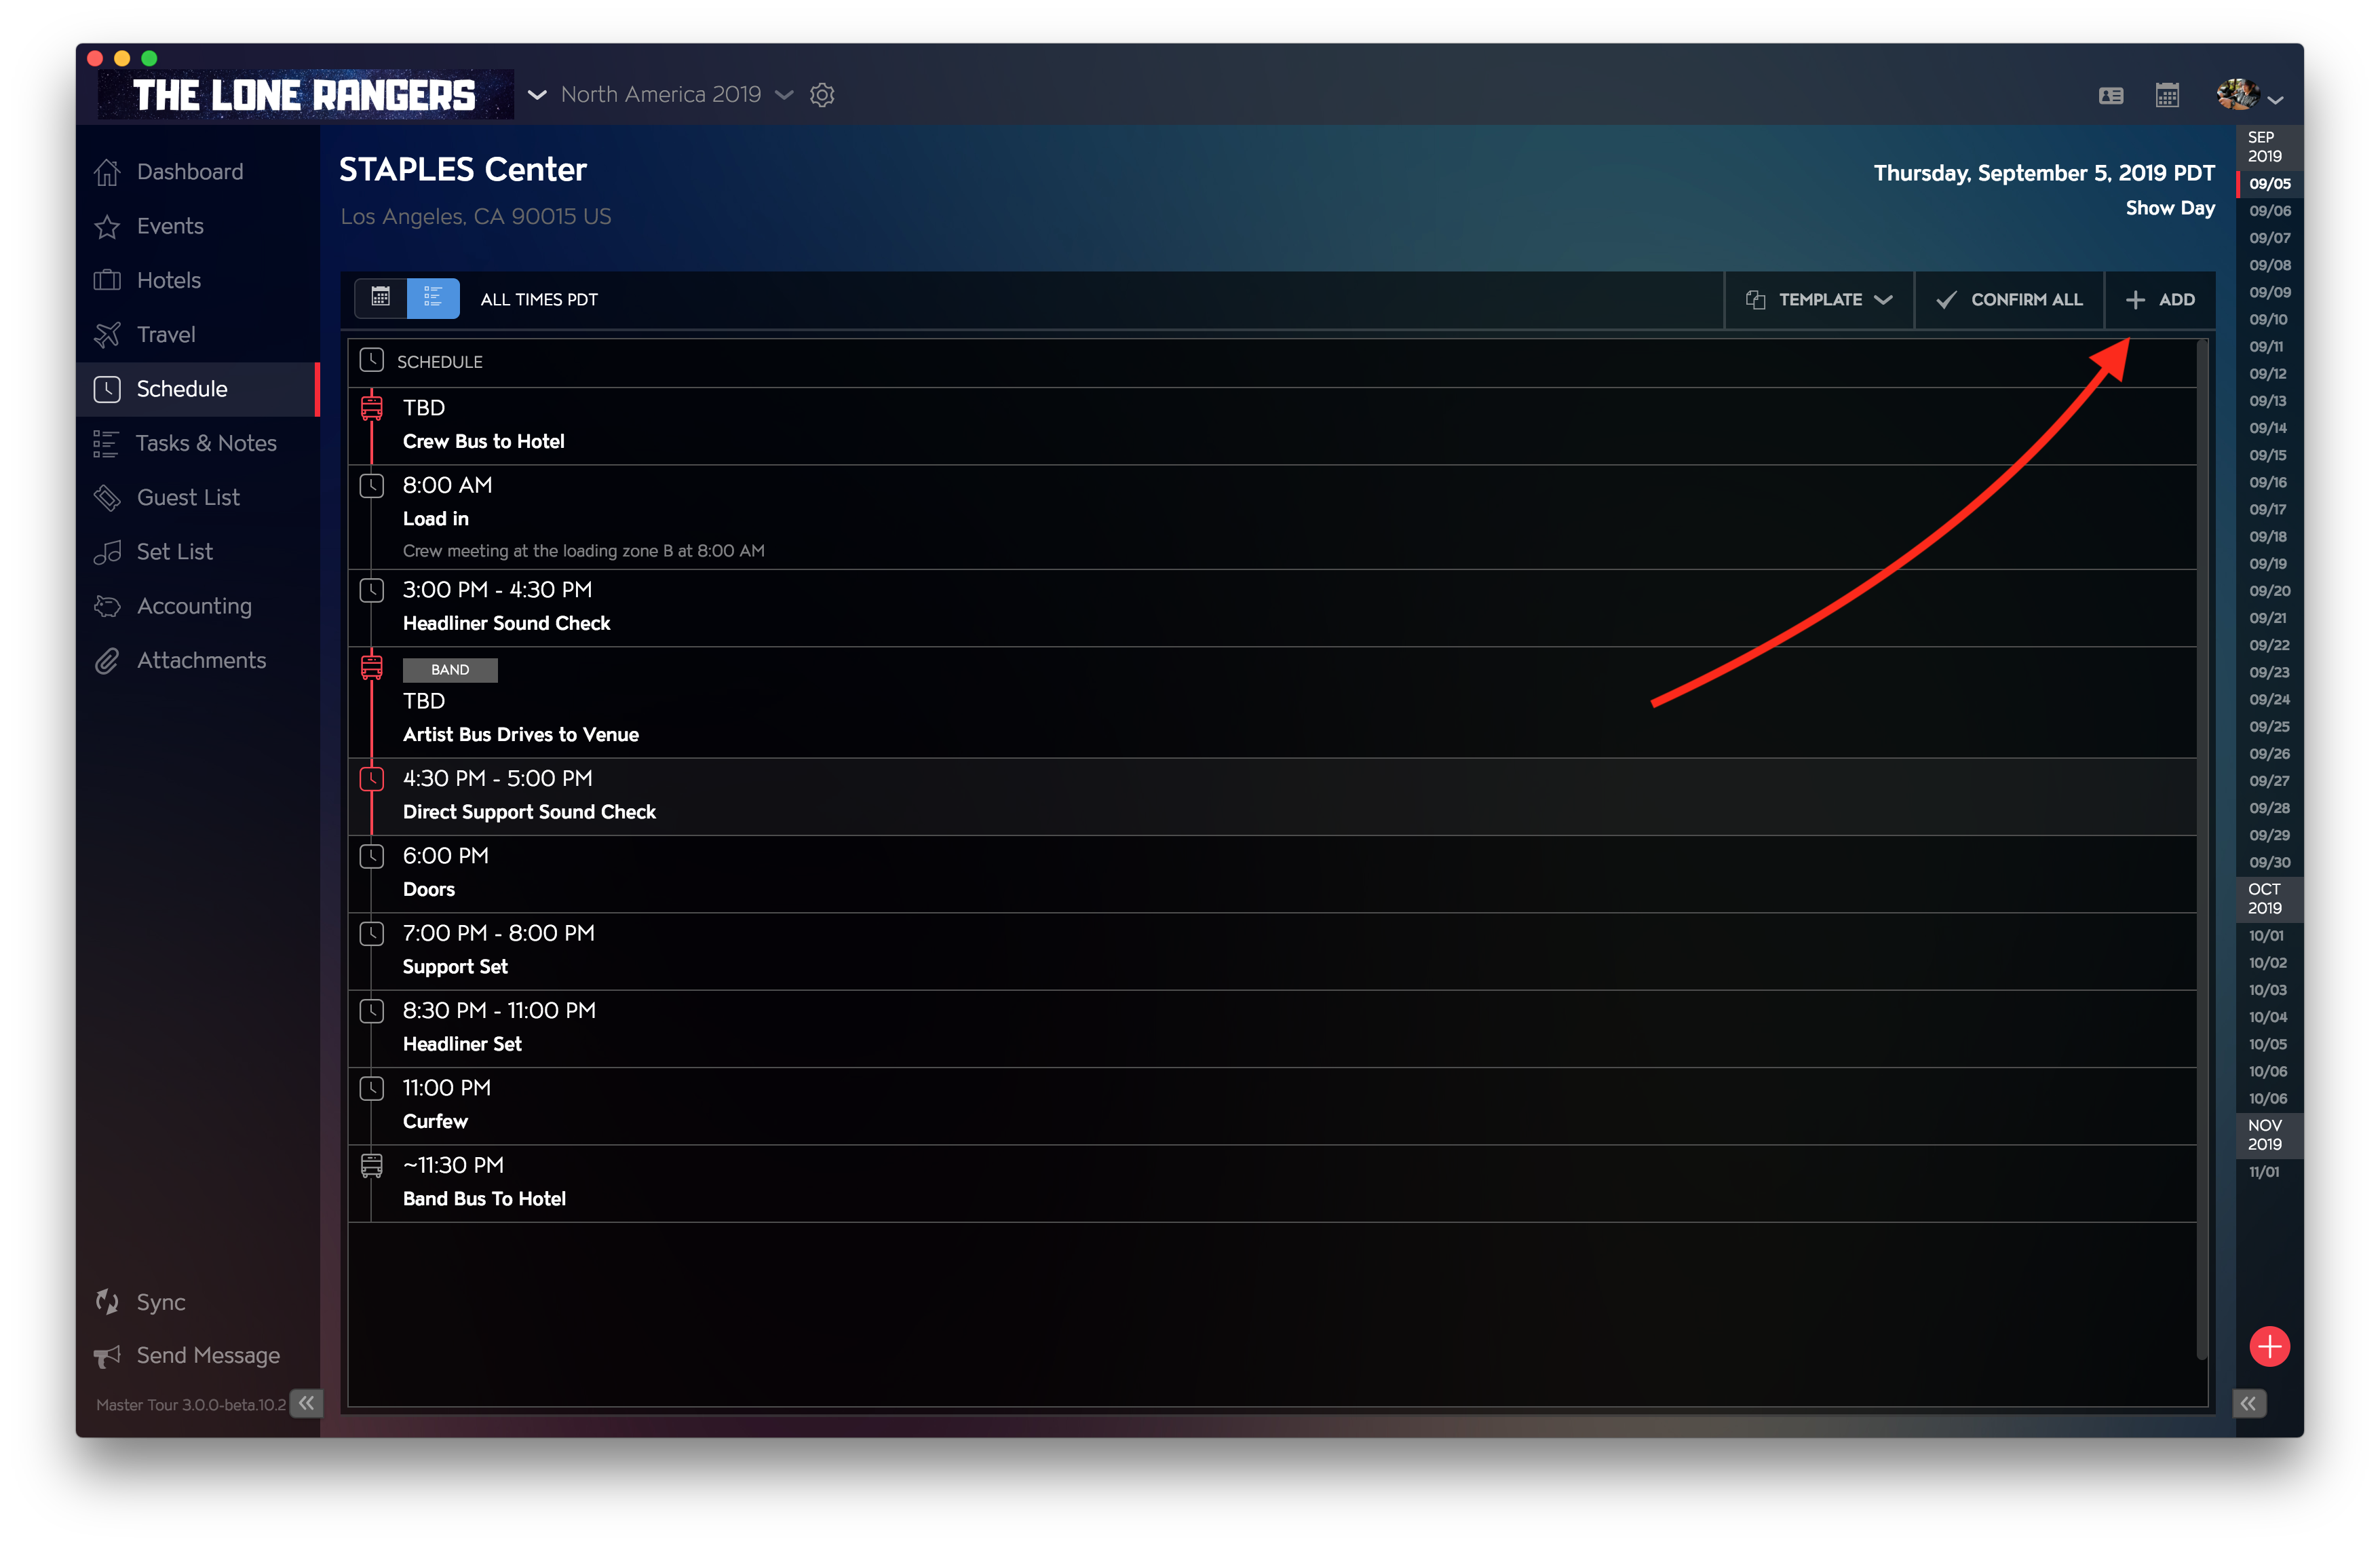
To add a new Schedule Item, just click on the +Add button in the top right corner of the Schedule section, and it will create a blank Schedule Item that you can add info to:
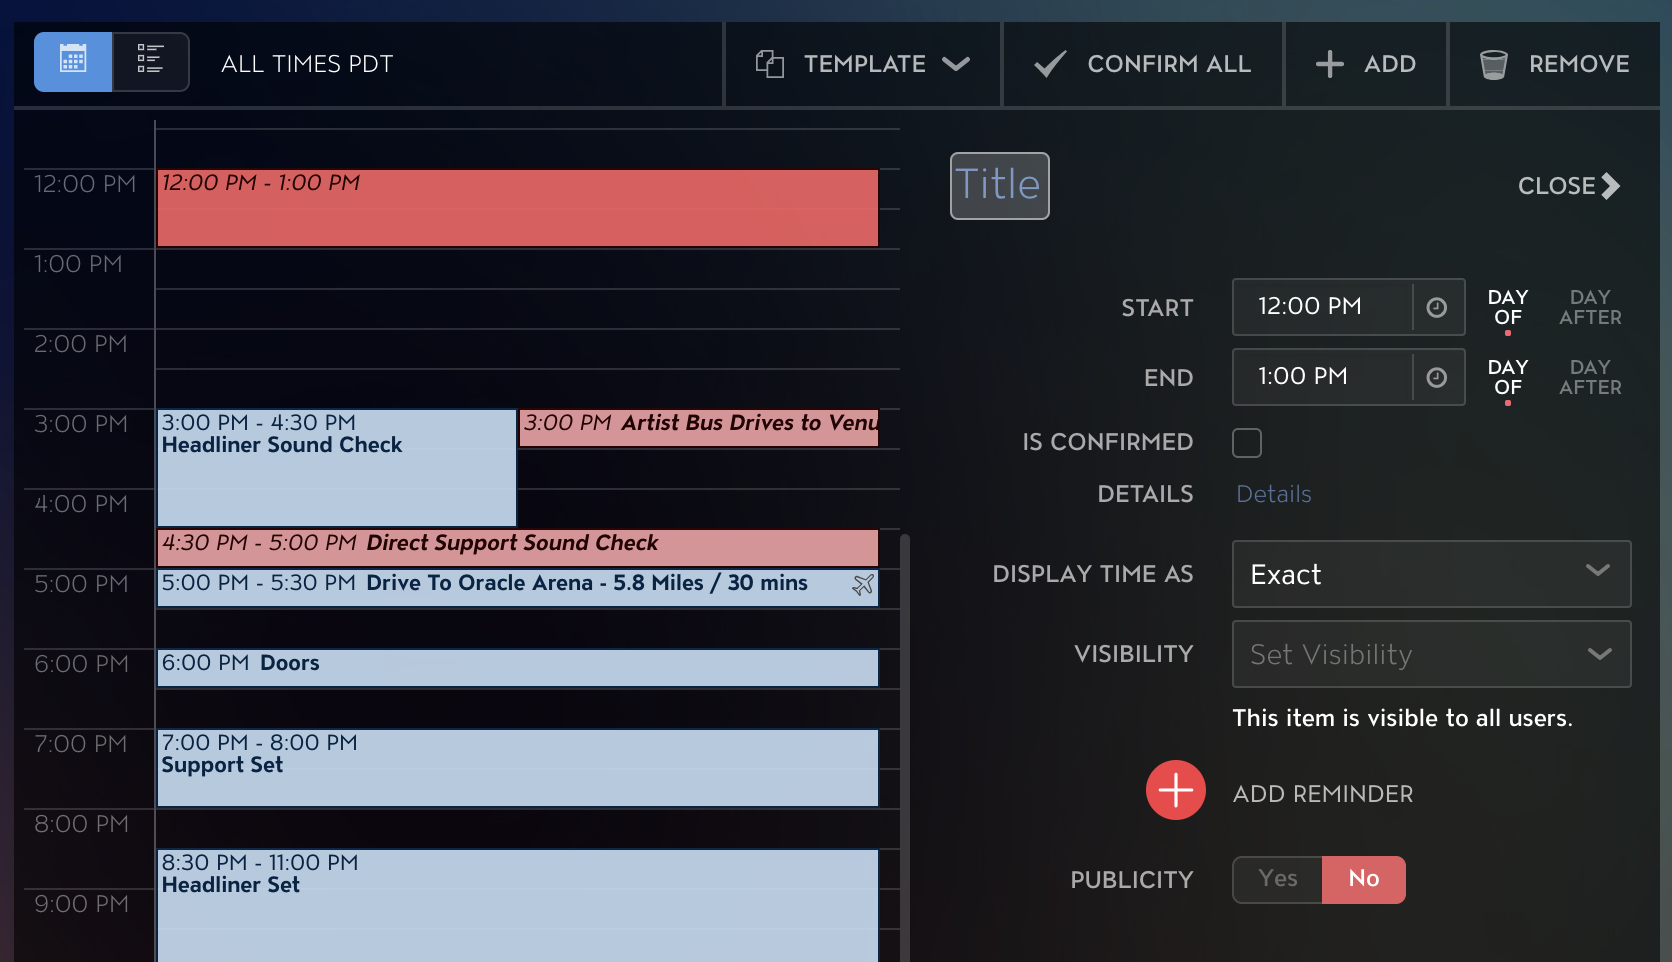
Here, you can enter the Schedule Item's Title, then its Start Time, End Time, and other Details. You can either type in Start and End Times, or click on the clock icon of a time field to select from a dropdown list of times. The Day Of and Day After settings determine if the time is on Day Of the chosen Tour Date, or if the time is technically the Day After the selected Tour Date, and you want it to appear on this Tour Date's Schedule.
For instance, if there is a Schedule Item starting at 11:30 PM on September 12, and ending at 12:15 AM on September 13, you would mark the Start Time as having a Day Of setting, and the End Time with a Day After setting.
Understand Confirmed and Unconfirmed Schedule Items
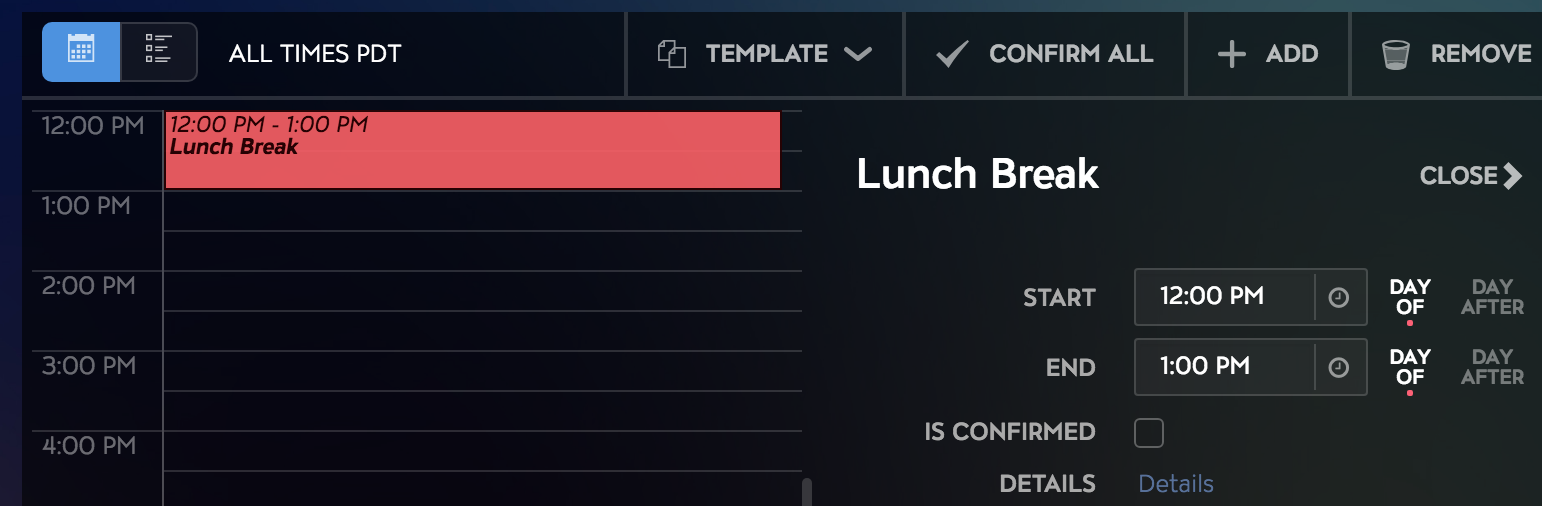
All Schedule Items are entered with a status of Unconfirmed and will appear as Unconfirmed on the Master Tour Mobile app, my.eventric.com, and the Master Tour desktop application.
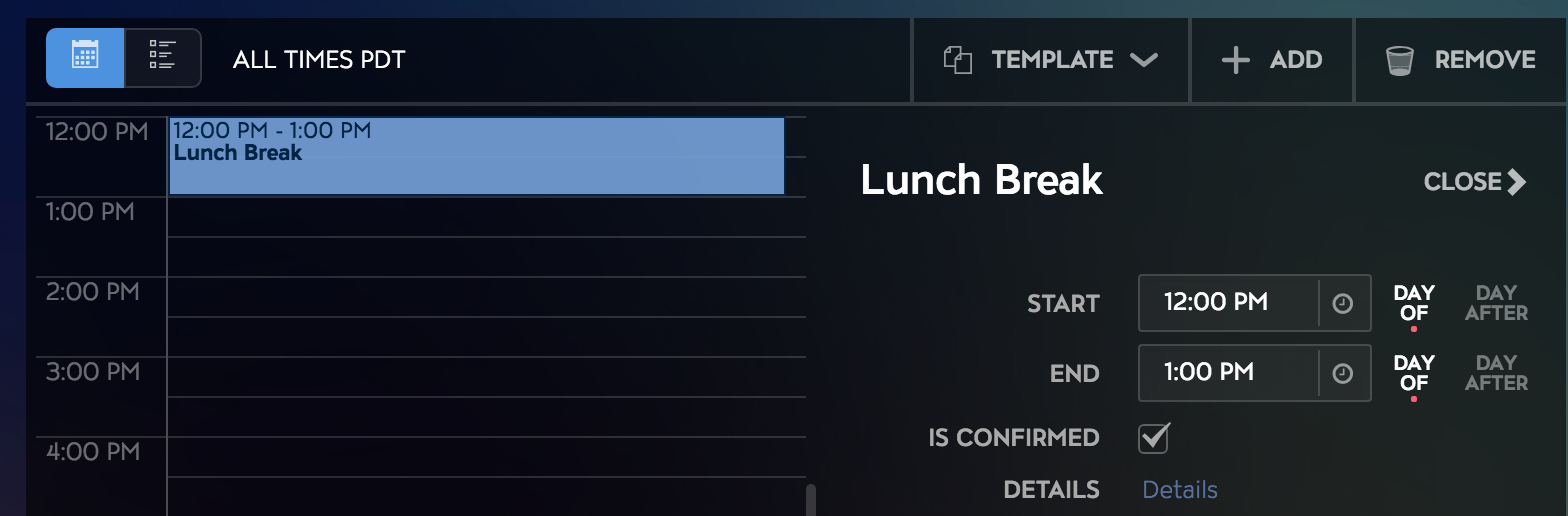
All Unconfirmed schedule items are displayed in red in Block View and have a red icon on the left side in List View. Checking the Is Confirmed box will change that Schedule Item's color to blue in Block View and turn that Schedule Item's icon grey in List View. Selecting Confirm All will confirm all your Schedule Items, as well as your Travel Items.
Use Display Time As
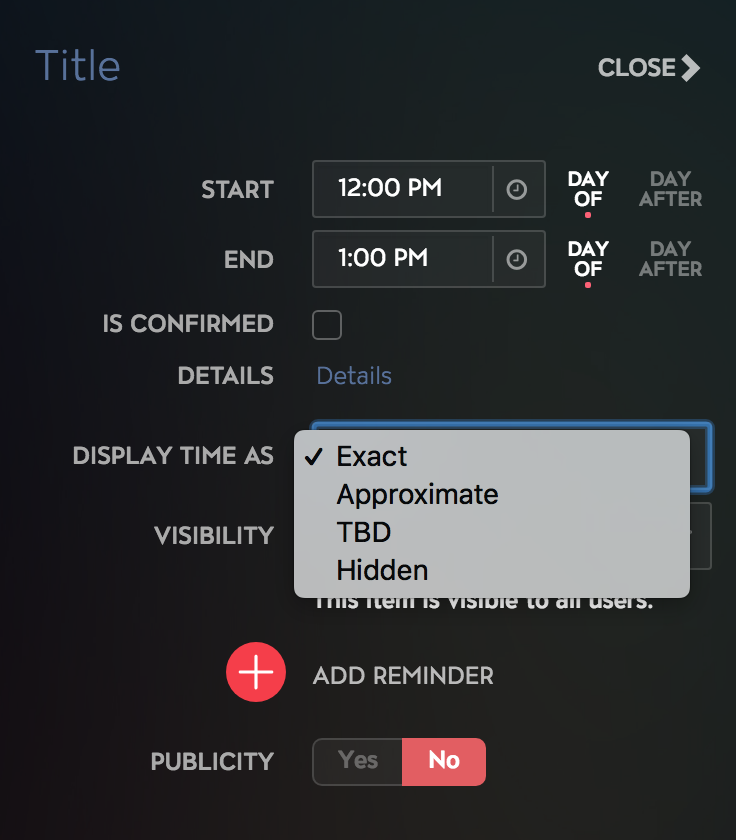
Each Schedule item can have its time displayed as:
- Exact - this is the default setting and will show your precise Start and End Times.
- Approximate - this setting will display your Start and End Times, but with a ~ symbol in front to indicate Approximate times.
- TBD - this setting will place your Schedule Item at the Start and End Times of your choosing on your Schedule's timeline, but will display "TBD" instead of the Start and End Times.
- Hidden - this setting will place your Schedule Item at the Start and End Times of your choosing on your Schedule's timeline, but will not display any Start or End Times.
Set Visibility
Here, you can apply Visibility of a Schedule Item to either a single User, a Group of Users, or any combination of Users and Groups. Keep in mind that if a User has Manager permissions or higher, they will still be able to see all Schedule Items on Tour Dates. If you haven't used Visibility before, check out this article on Visibility for more info.
By default, all new Schedule Items are visible to all Users in your Organization. This means that if your Tour is marked as Visible and you add a new Schedule Item to a Tour Date, all Users added to your Organization will be able to see that new Schedule Item until you apply a Visibility setting to it.
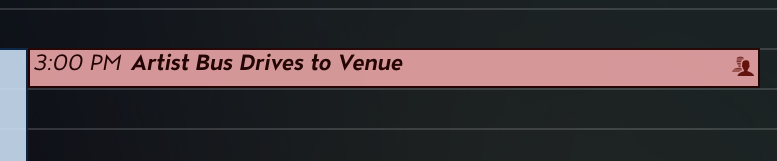
Schedule Items that have Visibility set will appear with a person icon on the right side in Block View:
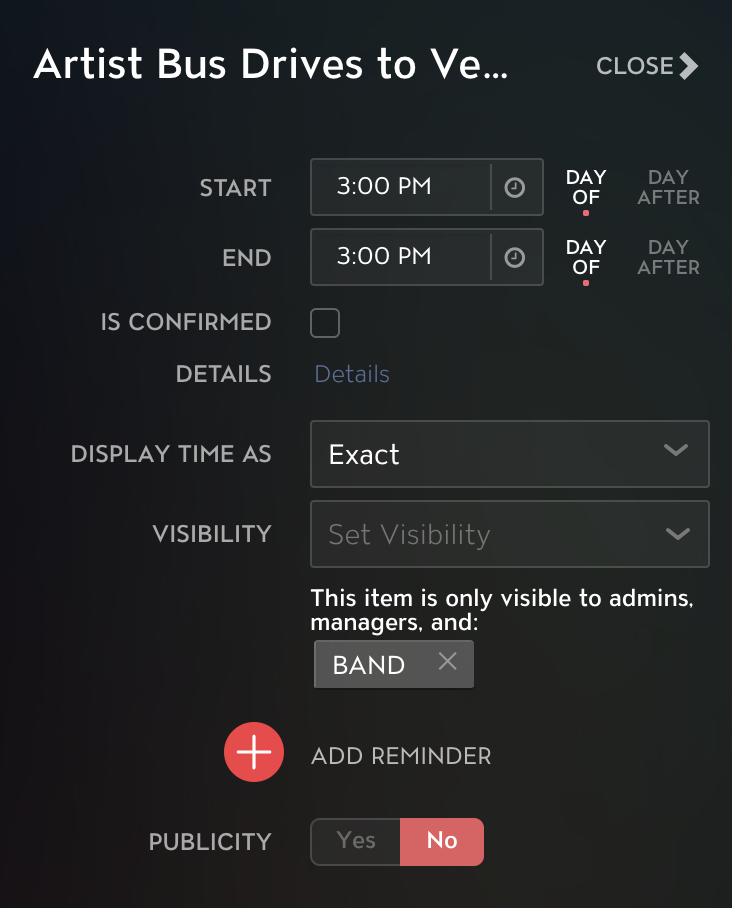
If you click on a Schedule Item with Visibility applied, you'll see the Groups and/or Users that have Visibility in the Schedule Item's detail:
Add Reminders
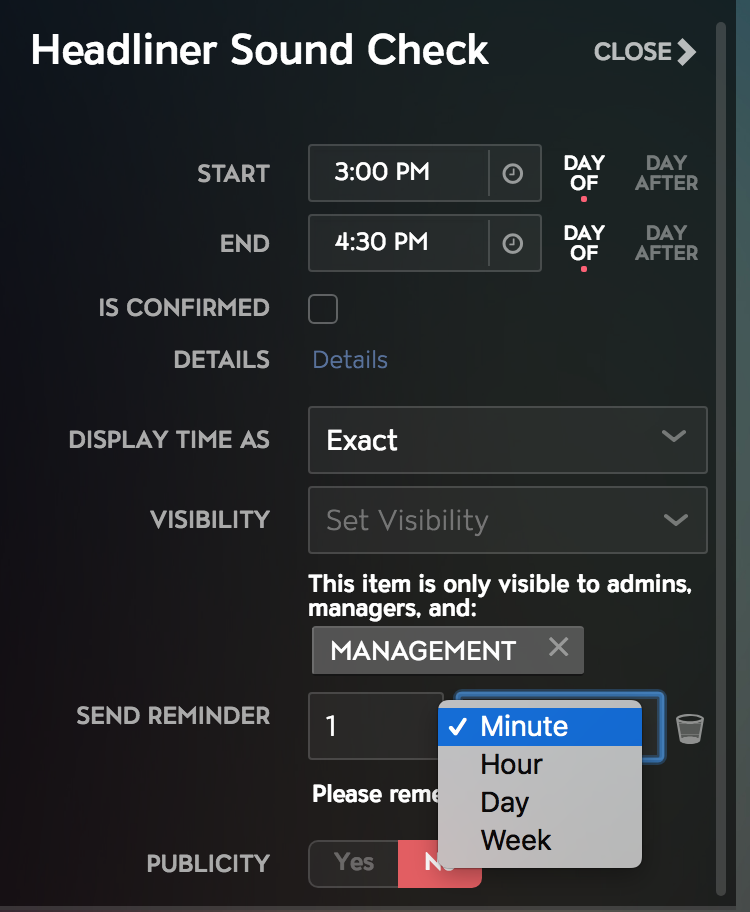
You can also Add Reminders - this will send push notifications regarding particular schedule items to the Users the item is visible to:
Once a Reminder is set on a Schedule Item, you'll see a bell icon show up on the right side of the item in Block View:

Use Publicity
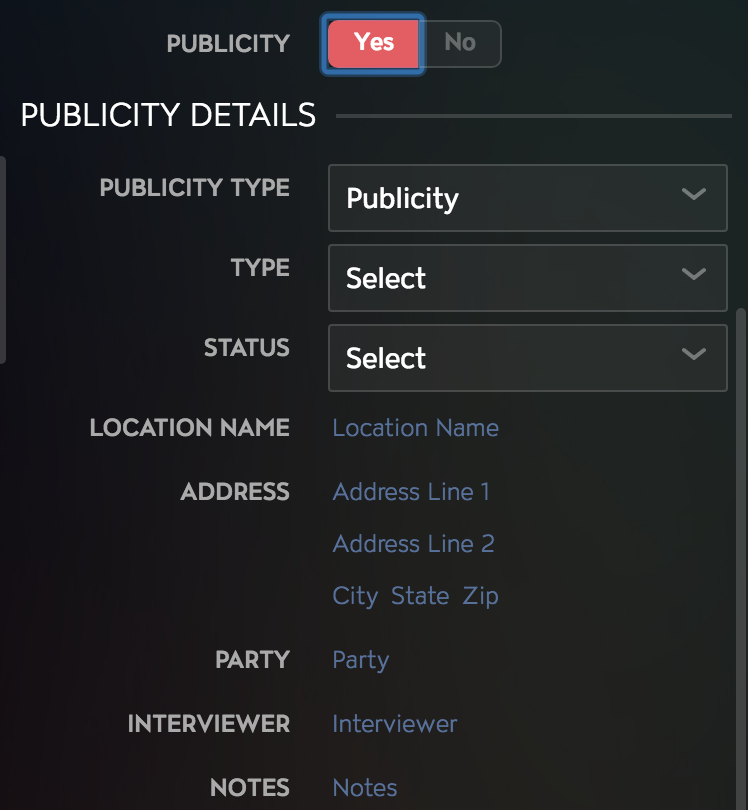
Schedule Items can also show additional fields for entering Publicity info. To use this, just change the Publicity toggle on a Schedule Item to Yes, and you'll see a Publicity Details section open up. Here, you can choose your Publicity Type (Meet & Greet, Appearance, Live Broadcast Phone Interview), Type (Phone, Radio, Tv Interview or Other), Status (Approved, Pending, Declined), and further facts such as location, party, interviewer, and notes. These fields will change based on which Publicity Type you select:
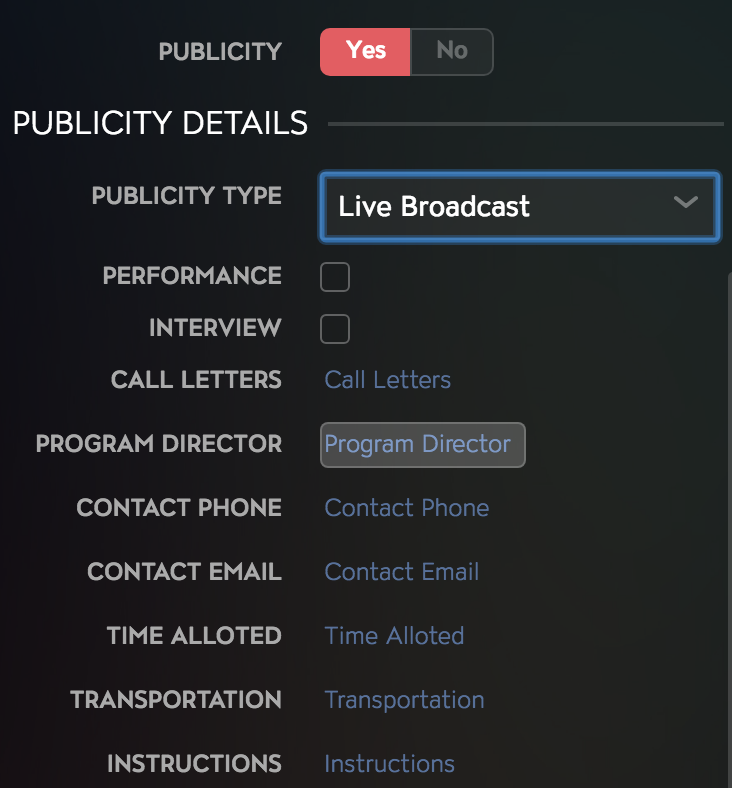
For instance, a Live Broadcast Publicity Type will show these fields:
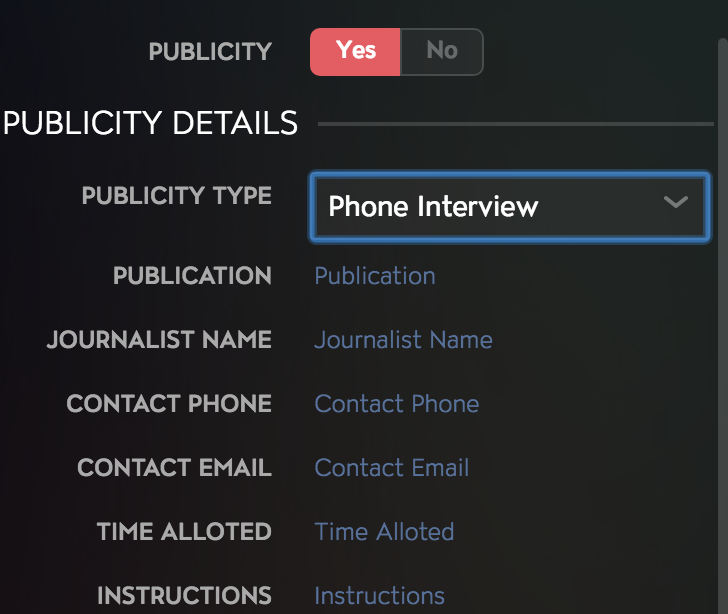
While a Phone Interview Publicity Type will show these options:
View Travel Items in the Schedule
In your Schedule you'll also see Travel Items - in block view they will have a small airplane icon on the right side:

In List view, Travel Items will have an icon on the left showing the Travel Type, with bus icons for Ground, airplane icons for Air, train icons for Rail, and boat icons for Sea:
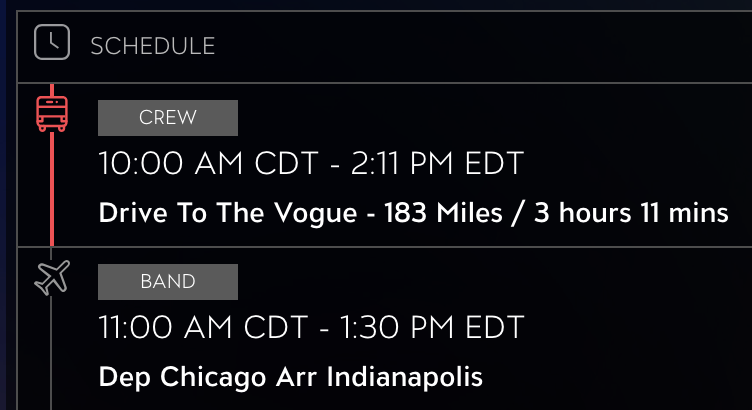
If you click on one of these Travel Items, you'll be taken to the Travel section - check out our article on the Travel section for more info on editing those items.
Apply Schedule Templates
The Template dropdown is for using Schedule Templates to apply multiple Schedule and/or Travel Items at once to a Tour Date's Schedule. Check out the article on Schedule Templates for more info on creating and applying Schedule Templates.
Remove Schedule Items
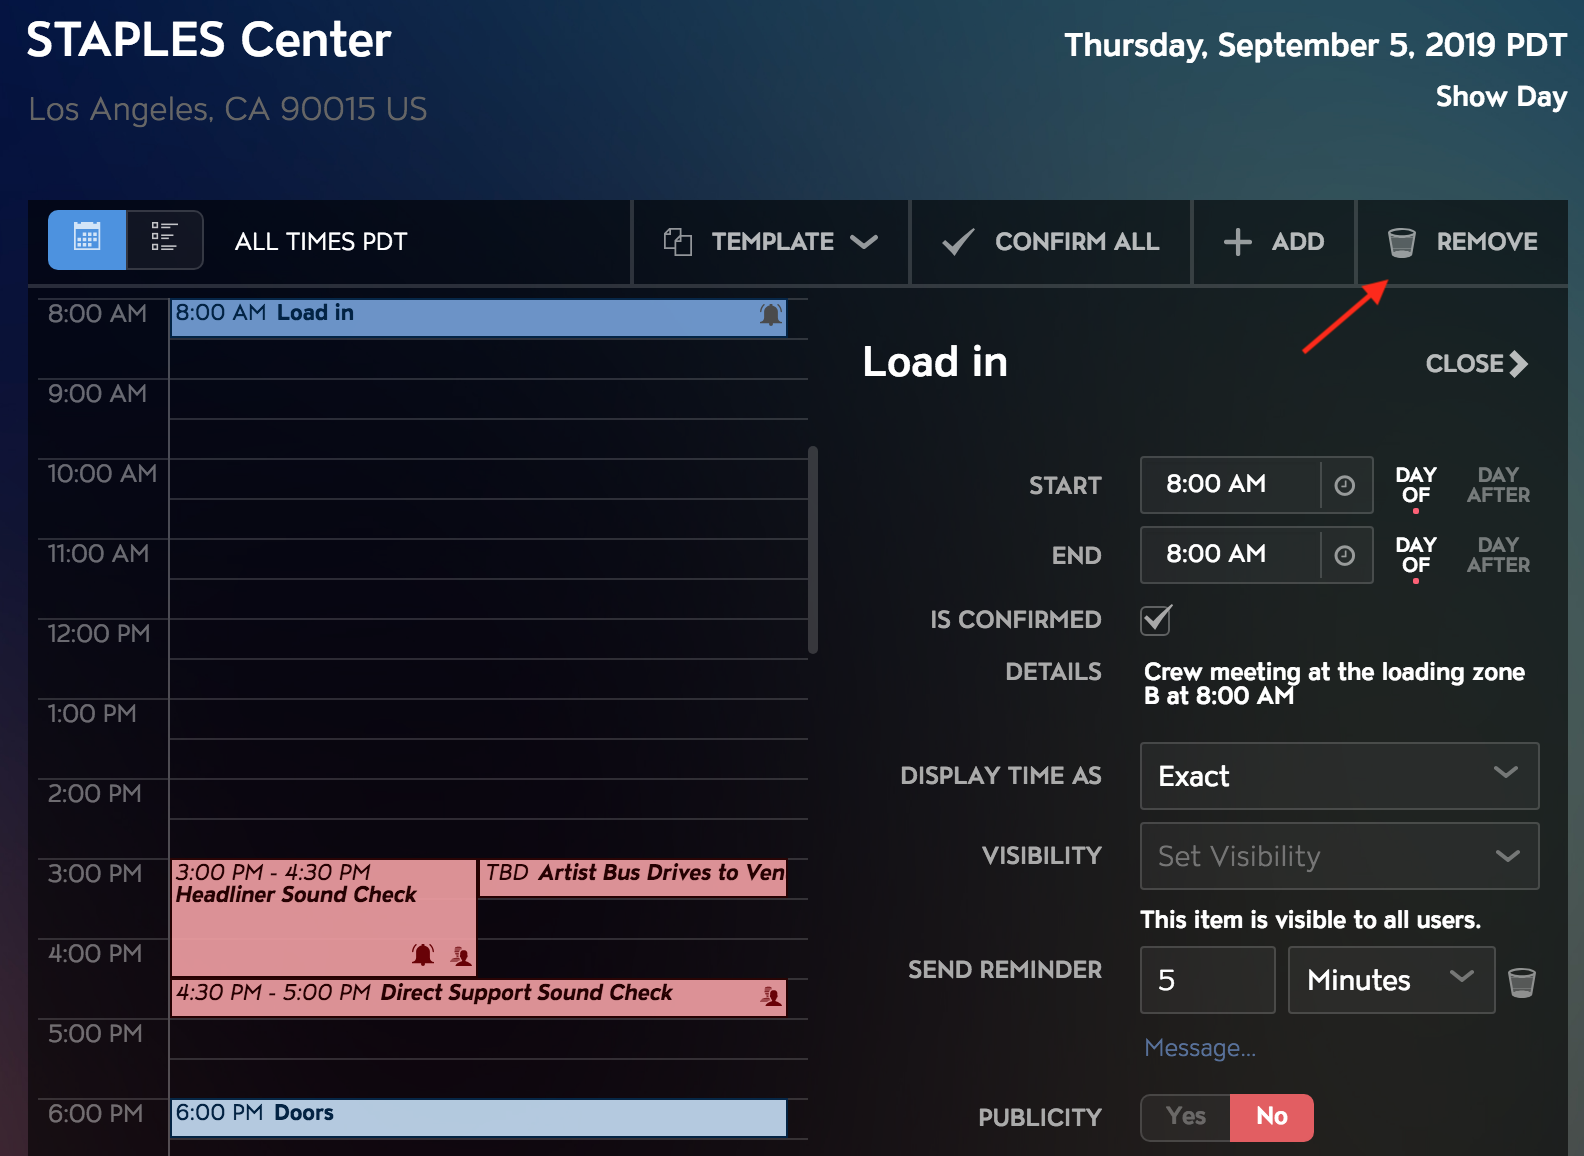
To delete a Schedule Item, click on that item in either block or list view, and then click the Remove button in the top right corner:
Remove All Schedule and/or Travel Items from a Tour Date
If you want to remove all the Schedule and/or Travel Items from a Tour Date, you'll just need to:
- Click on the Template dropdown at the top of your Schedule section
- Leave the resulting dropdown as "Select Template..."
- Check the "Replace All Schedule Items" and/or "Replace All Travel Items" checkbox.
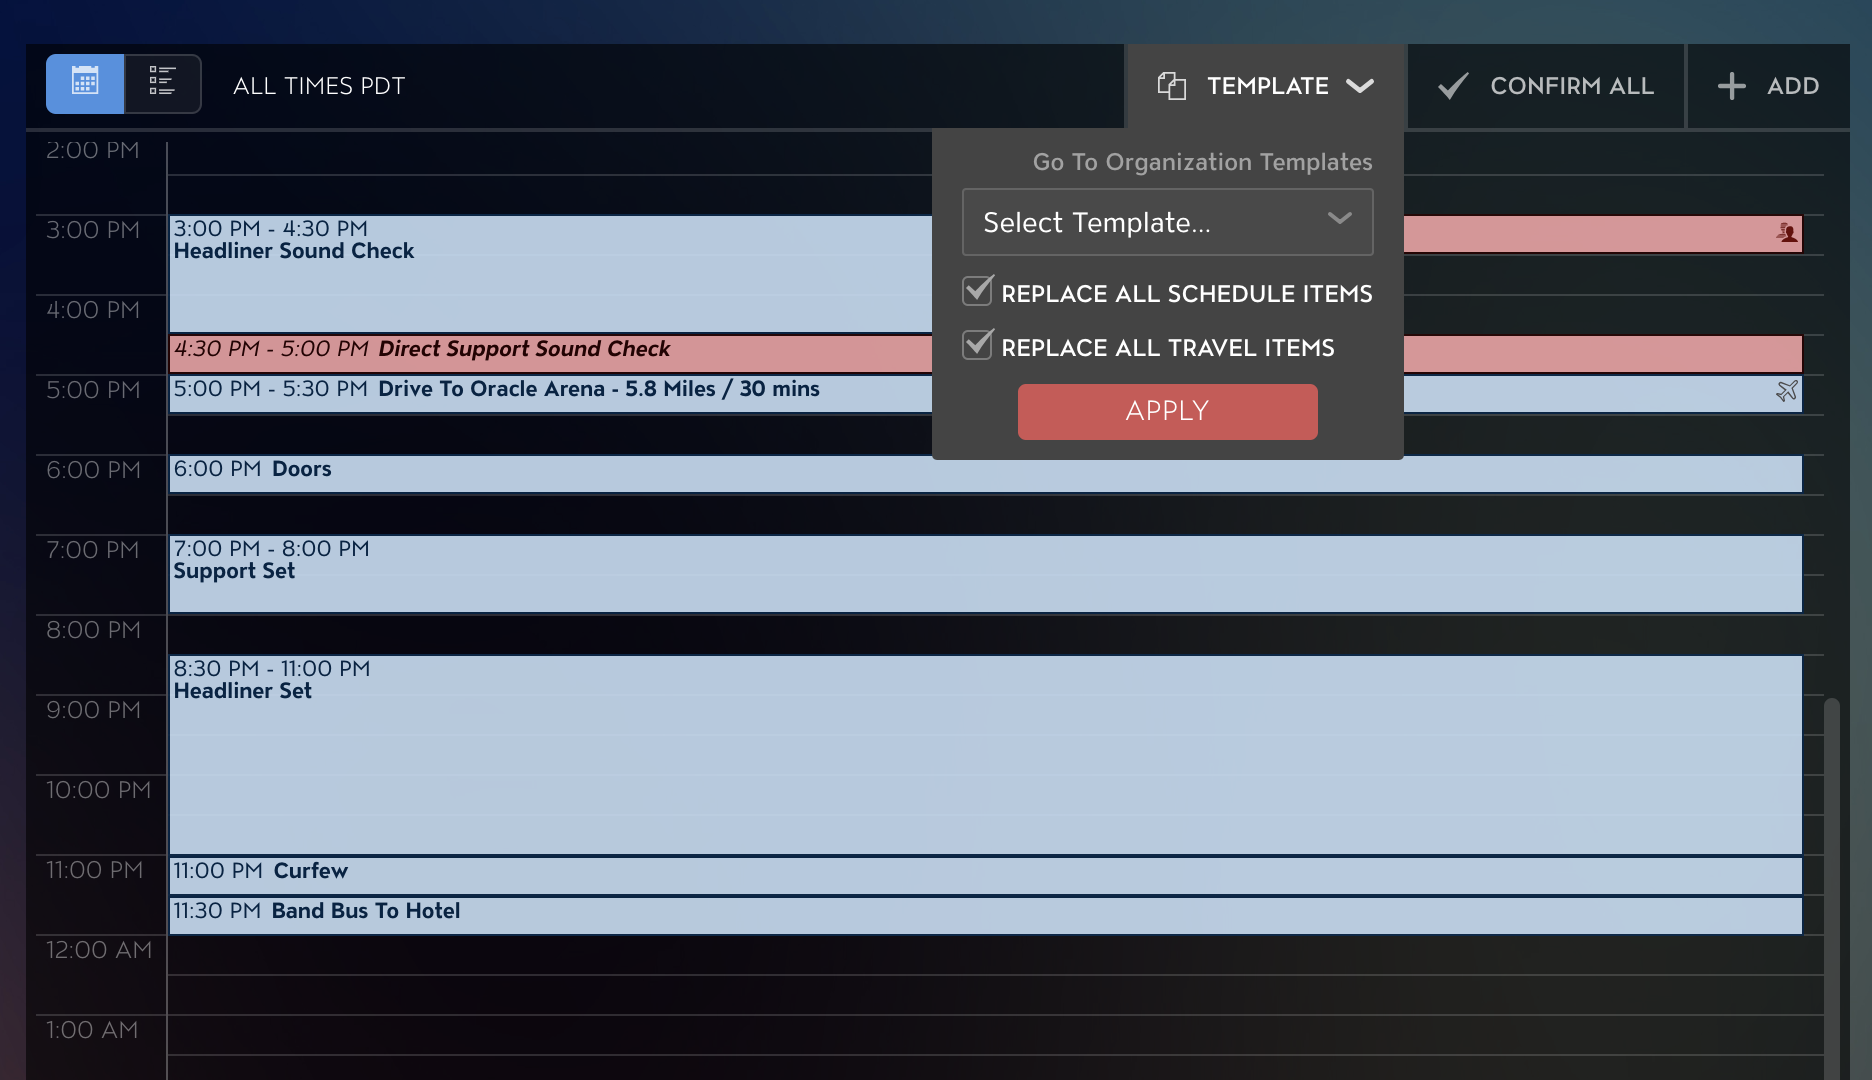
- Click the Apply button.
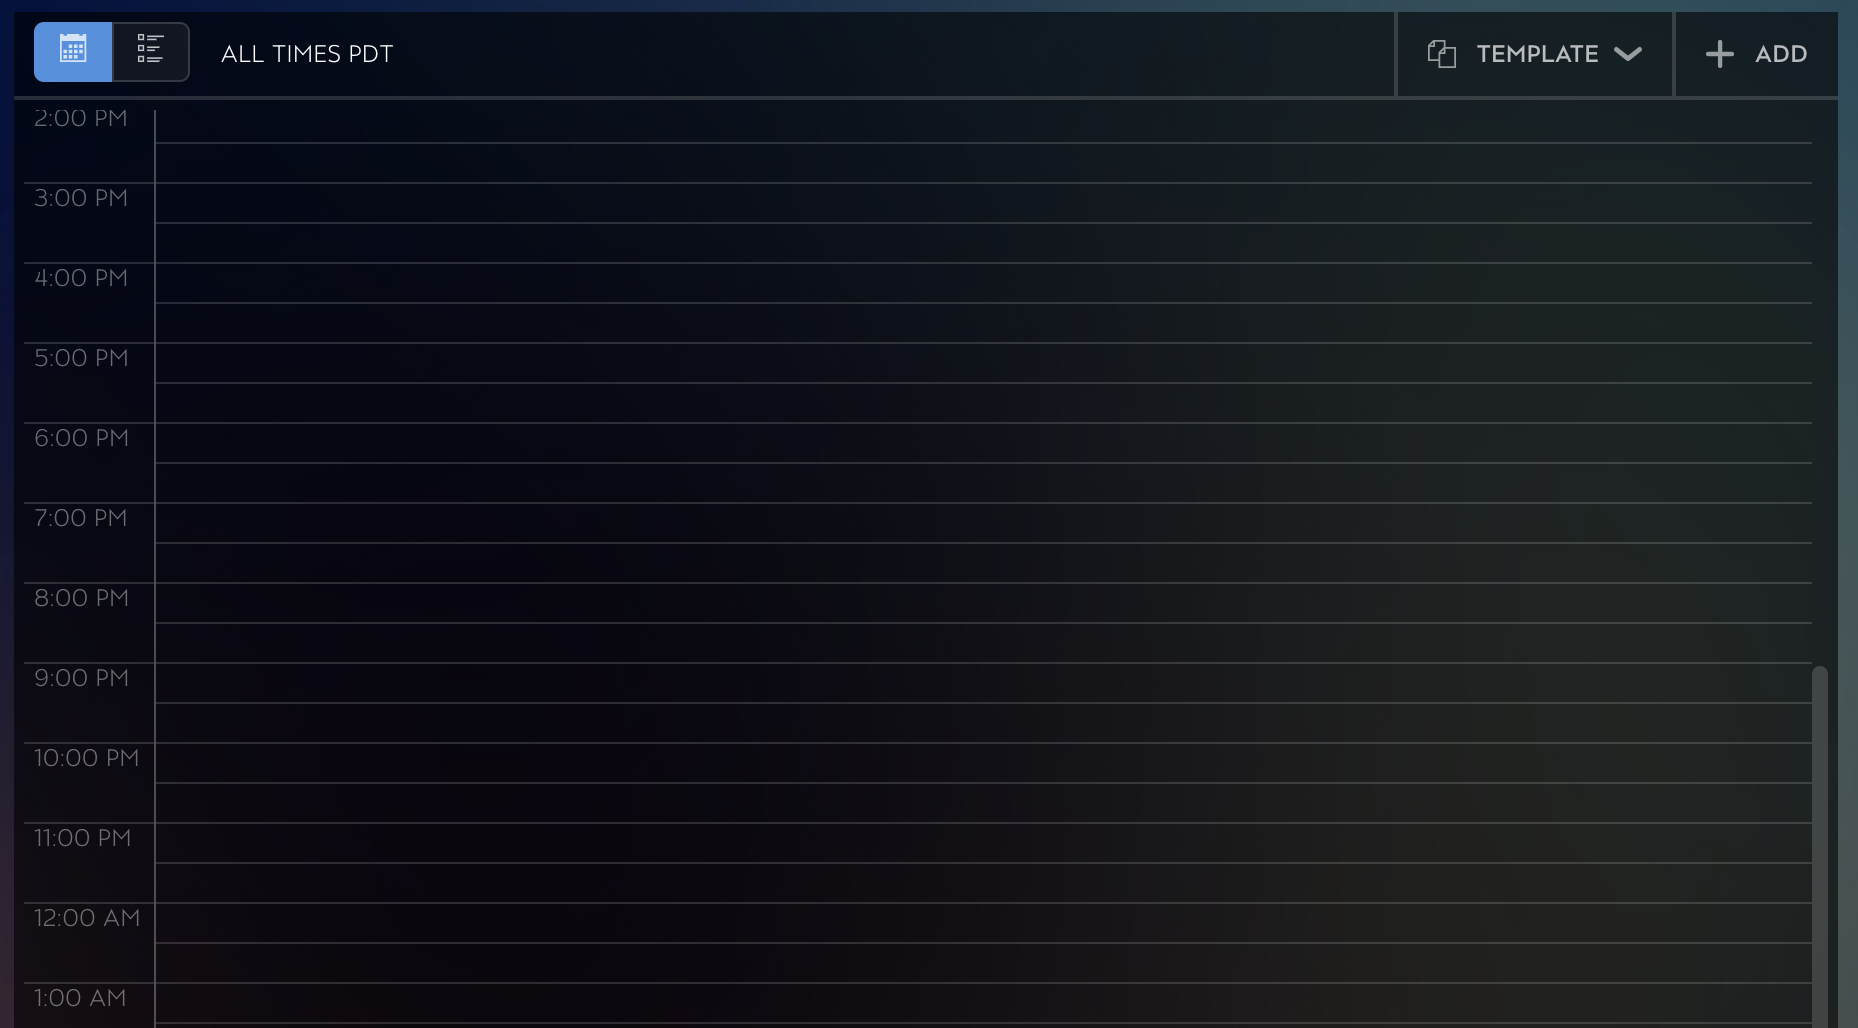
This will clear out your Schedule and/or Travel Items, depending on what you selected. In this case, both Replace All Schedule Items and Replace All Travel Items were selected, so all Schedule and Travel Items were deleted:
If you have any questions after following these instructions, please click here to open a Support Request or call +1-773-862-4246 to speak with a member of our Support Team between the hours of 10:00 am - 6:00 pm US Central Time (CT), Monday through Friday.